Taking a screenshot on Windows is one of those simple computer skills that can make everyday work much easier. I use screenshots for many different reasons. Sometimes I want to save an important message, capture something interesting on a website, explain a problem to someone, or keep a record of something on my screen. Instead of taking a photo of the monitor with a phone, Windows gives us several easy ways to capture exactly what we need.
The good thing is that you do not always need extra software to take a screenshot. Windows already has several built in screenshot options. Once you learn the different methods, you can choose the one that works best for your situation.
In this article, I will explain how to take a screenshot on Windows using simple methods. I will also share how I personally choose between different screenshot options and how to save, edit, and share screenshots.
Why Screenshots Are Useful
Before learning the different methods, I think it is worth understanding why screenshots are so useful. A screenshot is basically a picture of whatever is currently visible on your computer screen.
For example, if I am working on an assignment and need to show a particular part of a website, I can take a screenshot instead of explaining everything with words. Screenshots are also useful when reporting computer problems. If an error message appears, I can capture it and send the image to someone who can help me.
Screenshots can also be useful for saving information temporarily. I sometimes capture important instructions, online receipts, settings, or information that I want to look at later.
Take a Screenshot Using the Print Screen Key
One of the oldest and simplest methods is using the Print Screen key. On many keyboards, this key is labeled as PrtSc, PrtScn, or Print Screen.
When I press the Print Screen key, Windows captures the entire screen and copies the image to the clipboard. The screenshot is not necessarily saved as a file immediately. I can open an application such as Paint and paste the screenshot there.
To do this, I press the Print Screen key, open Paint, and press Ctrl and V together. The screenshot will appear inside Paint. From there, I can crop it, add some basic changes, and save it as an image.
I find this method useful when I want to capture the complete screen and make some changes before saving it.
Use Windows Key and Print Screen
If I want Windows to automatically save the screenshot, I usually prefer the Windows key and Print Screen method.
I press the Windows key and the Print Screen key together. The screen may briefly dim, which indicates that the screenshot has been captured.
Windows normally saves the screenshot automatically in the Screenshots folder inside the Pictures folder.
The general location is Pictures, then Screenshots.
This method is very convenient because I do not need to open Paint or another application. The image is already saved and ready to use.
I personally like this option when I need to take several screenshots quickly because I can capture each screen without stopping to paste and save every image manually.
Use Windows and Shift and S
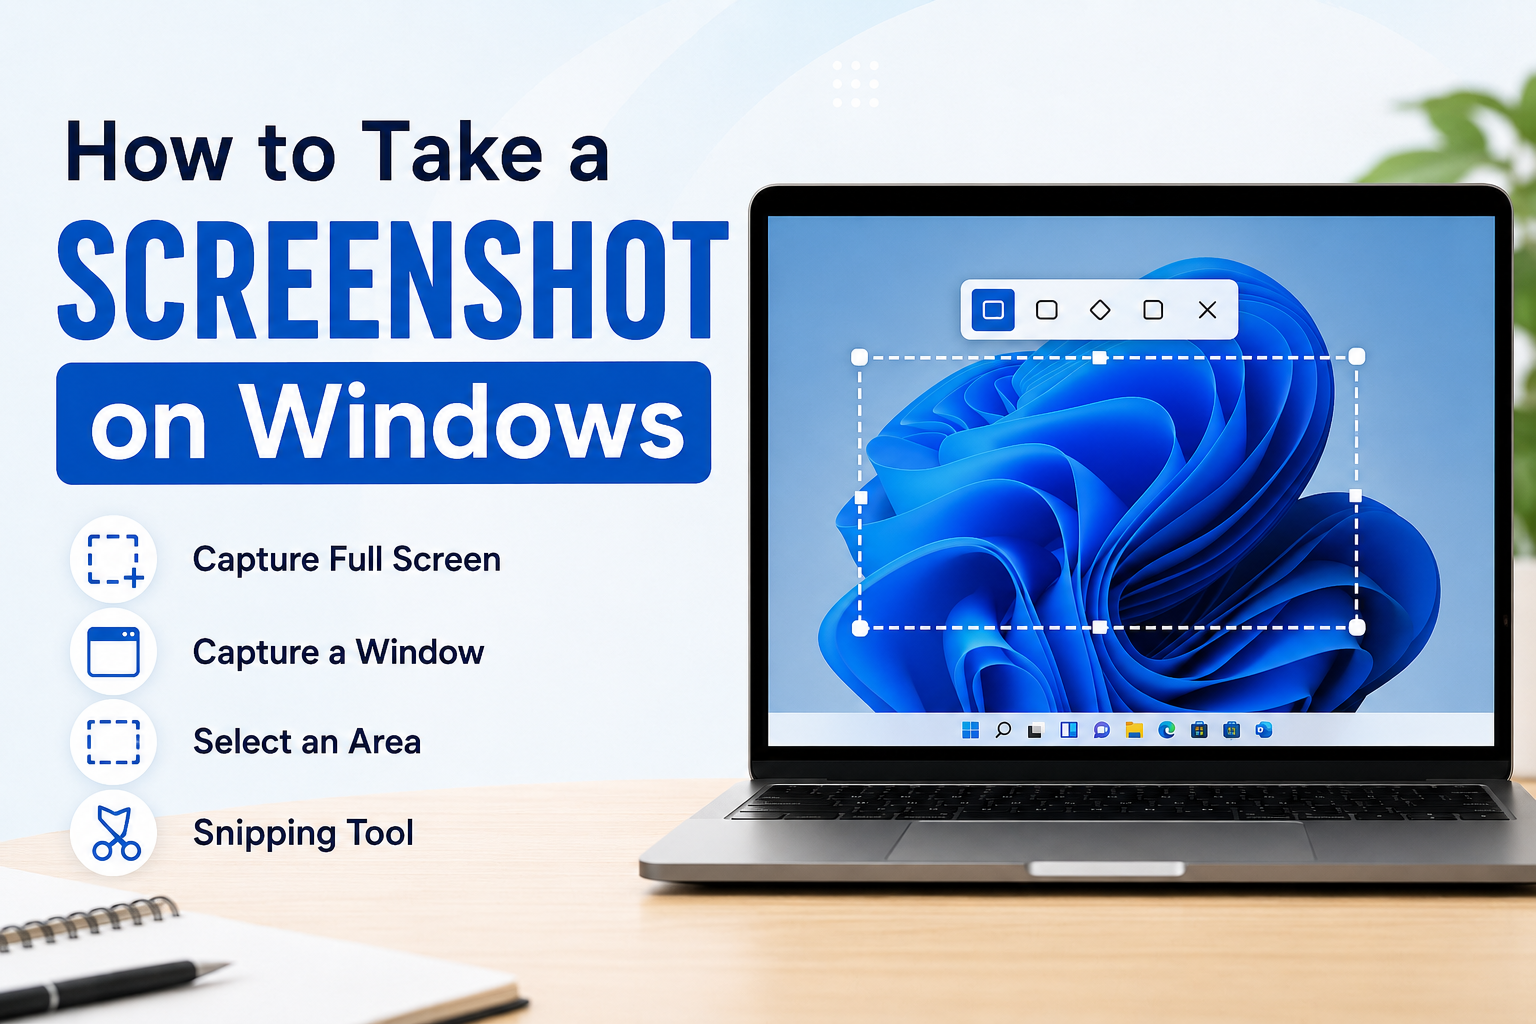
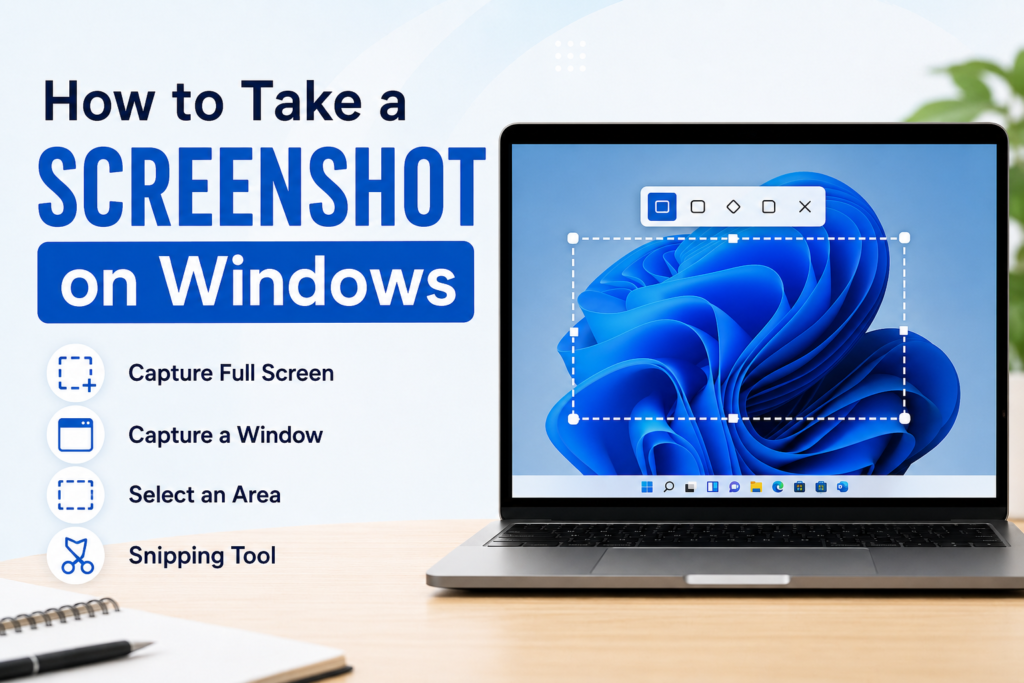
Another method I find extremely useful is the Windows key, Shift, and S shortcut. This opens the Windows screenshot selection tool.
When I press these keys together, the screen becomes slightly darker and a small toolbar appears at the top. I can then choose what part of the screen I want to capture.
There are different capture options available. I can select a rectangular area, capture a freeform area, capture a particular window, or capture the entire screen.
For example, if I only need a small section of a webpage, I can select that area instead of capturing everything.
After taking the screenshot, Windows usually copies the image to the clipboard and provides an option to open it in the Snipping Tool. From there, I can edit and save the screenshot.
For me, this is one of the best screenshot methods in Windows because it gives me more control over exactly what I want to capture.
Use the Snipping Tool
Windows also includes a built in application called Snipping Tool. It is designed specifically for taking screenshots.
I can open the Start menu and search for Snipping Tool. After opening it, I can select the type of screenshot I want to take.
The Snipping Tool is helpful when I want to capture a specific area and then make quick edits. Depending on the Windows version, it can also provide features such as drawing, highlighting, cropping, and delayed screenshots.
The delayed screenshot feature can be particularly helpful when I need to capture something that does not stay visible for long. I can set a short delay and then prepare the screen before the screenshot is taken.
I prefer using Snipping Tool when I need more than just a basic screenshot.
Capture Only the Active Window
Sometimes I do not want to capture the entire desktop. I only want to capture the application or window that I am currently using.
In this situation, I can use the Alt and Print Screen shortcut.
First, I click the window I want to capture so that it becomes active. Then I press Alt and Print Screen together.
Windows copies an image of the active window to the clipboard. I can then open Paint or another image editing application and paste the screenshot.
This is useful when I have several windows open but only want to show one of them.
For example, if I am writing an article in one window and have a browser open in another, I can capture only the browser window instead of showing my entire desktop.
How to Save a Screenshot
Taking the screenshot is only part of the process. Sometimes I also need to save it properly.
If Windows automatically saves the screenshot, I can usually find it in the Screenshots folder inside Pictures.
If I use the Snipping Tool, I can normally choose the save option after capturing the image. I can select the folder and give the file a suitable name.
I recommend using clear names if I am taking many screenshots. Instead of leaving random file names, I can name them according to their purpose. This makes them much easier to find later.
Common image formats include PNG and JPEG. PNG is often a good choice when I want clear text and sharp details.
How to Edit a Screenshot
Sometimes the screenshot contains more information than I actually need. In that situation, I prefer to edit it before sharing it.
The Snipping Tool provides basic editing options. I can crop unnecessary areas, draw around something important, or highlight a specific section.
I think cropping is especially useful because it makes the screenshot easier to understand. If someone only needs to see one part of the screen, there is no reason to send them a large image containing unrelated information.
I can also use Paint or another image editor for additional changes.
How to Take a Screenshot of a Webpage
When I need to capture something from a website, I usually use Windows and Shift and S. This allows me to select only the section I need.
For example, if I find an important paragraph or an image on a webpage, I can select that specific area. This is much cleaner than capturing the entire screen.
However, if the webpage is longer than the visible screen, a normal Windows screenshot will only capture what is currently visible. For a complete webpage, I may need to use a browser feature or an extension designed for full page screenshots.
Screenshots for Troubleshooting
One of my favorite uses for screenshots is troubleshooting computer problems.
When something goes wrong on my computer, I can capture the error message and send it to a friend, teacher, technician, or support team. This can make it much easier for another person to understand what I am seeing.
For example, if an application shows an error code, I can take a screenshot instead of typing the entire message manually.
A screenshot can also show important details such as buttons, settings, and warning messages.
Where Screenshots Are Stored
Knowing where screenshots are saved can save a lot of time.
Screenshots taken with Windows and Print Screen are generally stored in the Pictures folder under Screenshots.
Screenshots captured with other methods may be copied to the clipboard instead. In that case, I need to paste the image into an application before saving it.
If I cannot find a screenshot, I usually check the Pictures folder first. I also check whether I only copied the image to the clipboard instead of saving it as a file.
Common Screenshot Mistakes
There are a few simple mistakes that can happen when taking screenshots.
One common mistake is capturing more information than necessary. If I am sharing a screenshot with someone, I try to capture only the relevant area.
Another mistake is forgetting where the screenshot was saved. Keeping screenshots organized in folders can make them easier to find.
I also avoid sharing screenshots that contain private information. Before sending a screenshot, I check whether it contains passwords, personal messages, email addresses, account information, or other sensitive details.
This is especially important when sharing screenshots online.
Which Screenshot Method Should You Use?
The best method depends on what I need to capture.
If I want the entire screen and want to save it automatically, I use Windows and Print Screen.
If I want to select a specific part of the screen, I use Windows, Shift, and S.
If I want more control and editing options, I use the Snipping Tool.
If I only want to capture the active window, I use Alt and Print Screen.
If I want to capture the entire screen and edit it manually, I can use the regular Print Screen key and paste the image into Paint.
Once I know these shortcuts, taking screenshots becomes very quick.
Final Thoughts
Learning how to take a screenshot on Windows is a small skill, but I find it extremely useful in everyday computer work. Whether I am saving information, creating an assignment, explaining a problem, or sharing something interesting, a screenshot can communicate information much faster than a long explanation.
Windows provides several built in options, so I do not always need to install additional software. The Windows and Shift and S shortcut is probably the method I use most because it lets me select exactly what I want to capture. The Windows and Print Screen shortcut is also useful when I want the screenshot saved automatically.
My advice is to try each method once and see which one feels easiest. After a little practice, taking screenshots becomes almost automatic. It is one of those simple Windows skills that can save time and make working on a computer much easier.