I take a lot of photos with my phone. Whether I am taking pictures of family moments, traveling, saving screenshots, or capturing something important, my phone gallery can become full very quickly. At some point, I need to move those photos to my computer so I can keep them safe, edit them, organize them, or simply free up storage on my phone.
The good thing is that transferring photos from a phone to a computer is not difficult. There are several methods available, and I can choose one depending on the phone I use, the computer I have, and whether I want to transfer a few photos or hundreds of them.
In this guide, I will explain the easiest ways I use to transfer photos from a phone to a computer. These methods can work for both Android phones and iPhones, although some steps are different.
Transfer Photos Using a USB Cable
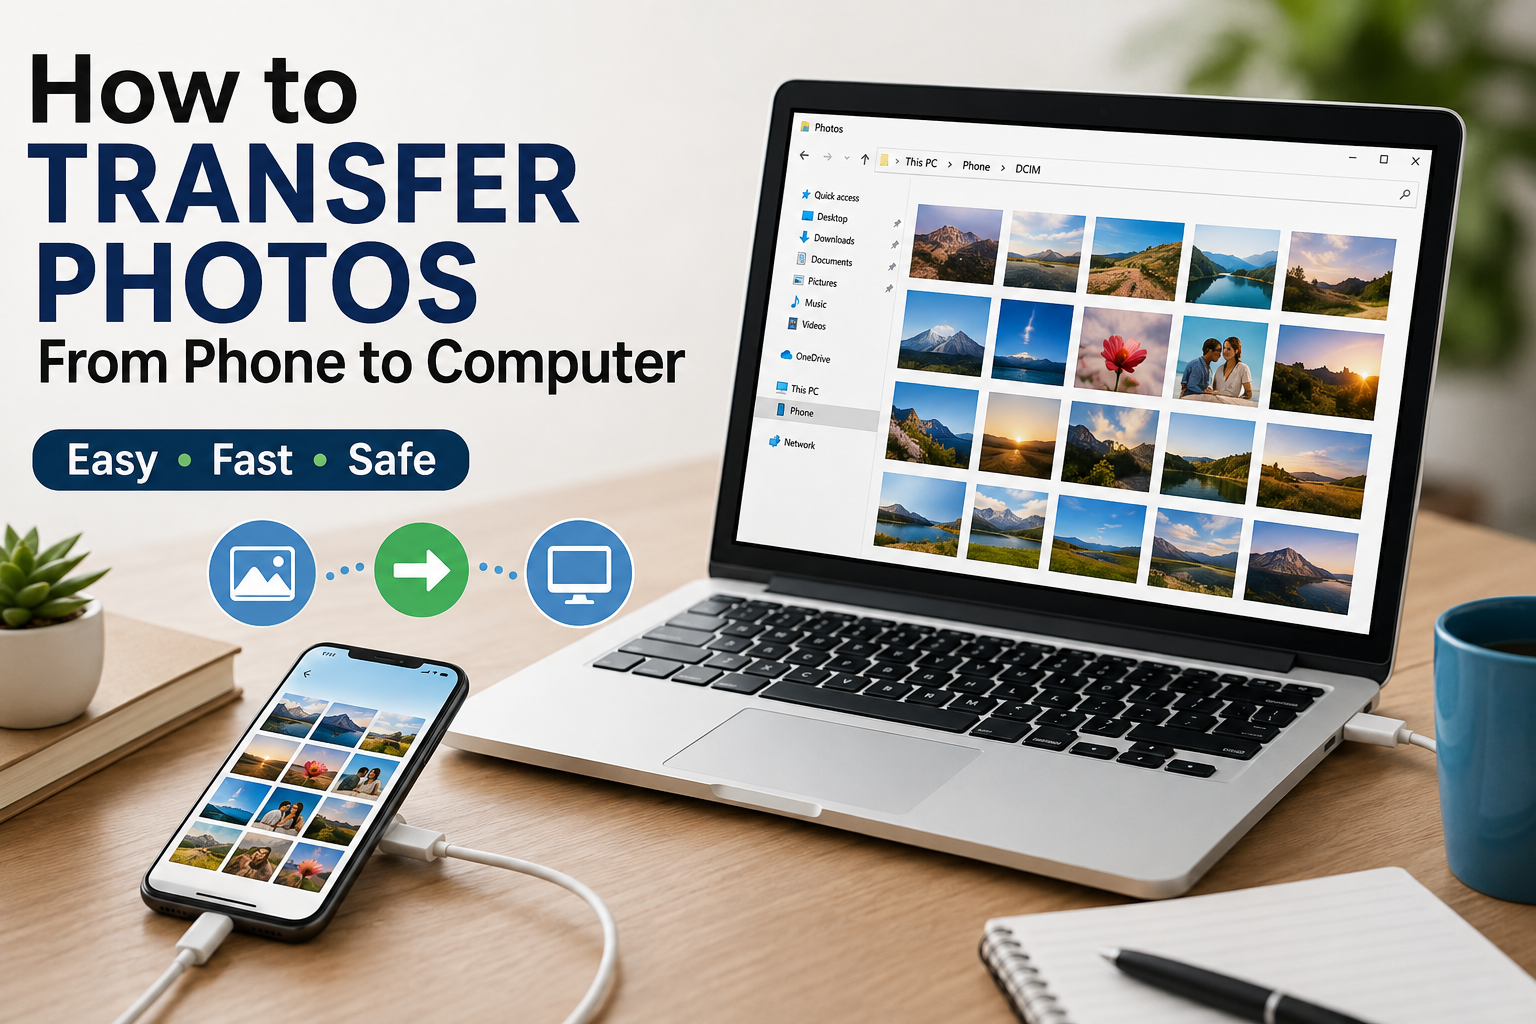
The simplest method for me is usually a USB cable. It does not require an internet connection, and I can transfer a large number of photos relatively quickly.
If I have an Android phone, I first connect the phone to my computer using a compatible USB cable. After connecting it, I unlock my phone and check the notification panel. I usually see an option related to USB preferences.
I select the option that allows file transfer. On some phones, it may be called File Transfer, Android Auto, or something similar.
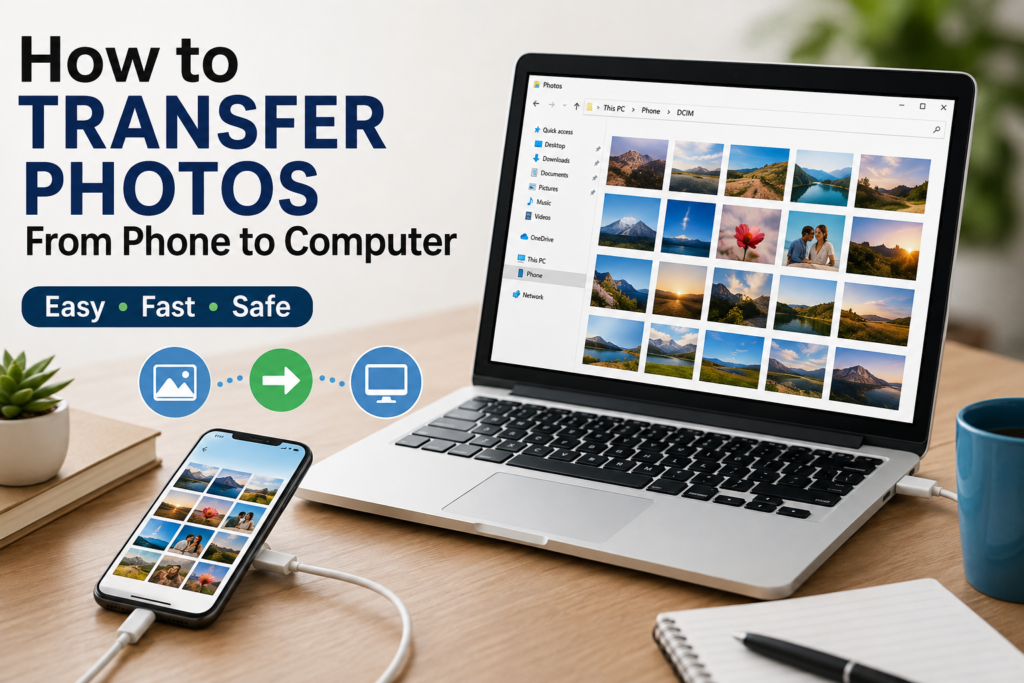
Once the phone is recognized by the computer, I open File Explorer on Windows. I find my phone under This PC and open its internal storage. Then I look for the DCIM folder. This is where photos taken with the phone camera are commonly stored.
I open the Camera folder and select the photos I want to move. I can then copy them and paste them into a folder on my computer.
I personally prefer copying photos instead of immediately moving them. This gives me a chance to make sure the photos were transferred correctly before deleting anything from my phone.
Transfer Photos From an iPhone Using a USB Cable
The process is slightly different when I use an iPhone with a Windows computer, but it is still straightforward.
First, I connect my iPhone to the computer using a suitable USB cable. I unlock the iPhone and wait for the computer to recognize it. The iPhone may ask whether I trust the connected computer. If I see this message, I select Trust and enter my passcode if required.
On Windows, I can then open File Explorer and look for the iPhone under This PC. After opening the device, I can access the internal storage and find the DCIM folder.
Inside the DCIM folder, I can find my photos and videos. I select the files I need and copy them to a folder on my computer.
If I am transferring a large number of photos, I prefer using a cable because it does not depend on my internet speed.
Use Google Photos
Another method I find very convenient is Google Photos. This method is especially useful when I do not want to deal with cables.
If I use an Android phone, Google Photos is often already installed. I open the app and make sure my photos are being backed up to my Google account.
After the photos are uploaded, I can open Google Photos on my computer through a web browser. I sign in using the same Google account and access my photo library.
From there, I can select individual photos or multiple photos and download them to my computer.
The biggest advantage of this method is convenience. I can transfer photos even when my phone and computer are not physically connected. However, I need a reliable internet connection, especially if I am downloading a large number of high quality photos.
I also need enough cloud storage if I want to keep a large photo collection backed up.
Transfer Photos Using iCloud
For iPhone users, iCloud is another useful option. I use iCloud when I want my photos to stay synchronized across my Apple devices.
When iCloud Photos is enabled on my iPhone, my photos can be uploaded to my iCloud account. On a computer, I can access them through iCloud or use Apple’s software where supported.
This method is particularly convenient if I use several Apple devices. For example, I can take a photo on my iPhone and later access it from my computer without manually connecting the phone.
The main thing I keep in mind is storage. iCloud provides limited free storage, so a large photo library may require additional storage.
Use Phone Link on Windows
Windows also offers ways to connect a phone with a computer. Microsoft’s Phone Link can be useful for compatible Android phones.
After connecting my phone to the computer, I can access certain phone features from Windows. Depending on the phone and setup, I may be able to view and work with recent photos without manually transferring every file through a cable.
I find this method useful when I only need a few recent photos. For large photo backups, however, I usually prefer a USB connection or cloud storage.
Transfer Photos Using Bluetooth
Bluetooth is another possible option, although I do not normally use it for transferring large photo collections.
If both my phone and computer support Bluetooth file transfer, I can pair the devices and send selected photos wirelessly.
The advantage is that I do not need a cable. The disadvantage is speed. Sending many high resolution photos through Bluetooth can take a long time.
For that reason, I think Bluetooth is better when I need to transfer a few small files rather than an entire gallery.
Transfer Photos Through WiFi
There are also wireless file transfer apps and services that allow me to transfer photos between my phone and computer over the same WiFi network.
With these tools, I usually connect both devices to the same network and follow the instructions provided by the service. Depending on the tool, I may be able to open a local web page on my computer and select photos directly from my phone.
This can be very convenient when I want to transfer many photos without using a USB cable.
However, I always make sure that I use a trustworthy service or application. I avoid installing unknown apps just because they promise fast file transfers.
Use a Memory Card
If my phone supports a microSD card and my computer has a compatible card reader, I can also transfer photos using the memory card.
I remove the memory card from the phone and insert it into the computer. Then I open the card through File Explorer and locate the photo folders.
After that, I can copy the photos to my computer.
This method can be useful for phones that store photos directly on a memory card. Still, I handle the card carefully because removing it incorrectly or damaging it could cause problems with the stored files.
Organize Photos After Transferring Them
I believe transferring photos is only half the job. Once I have copied them to my computer, I like to organize them properly.
Instead of keeping thousands of photos in one folder, I create folders based on years, months, events, or trips.
For example, I might create a folder called 2026 Photos and then create smaller folders for Family, Travel, Screenshots, and Personal Photos.
This makes it much easier for me to find an old picture later.
I also recommend checking the transferred files before deleting the originals from the phone. I open several photos and make sure they are not corrupted.
If I have transferred hundreds of important pictures, I may also keep a backup on an external storage device or a trusted cloud service.
What If the Computer Does Not Detect the Phone?
Sometimes I connect my phone to my computer and nothing happens. This can be frustrating, but there are several simple things I can check.
First, I make sure the phone is unlocked. Some phones do not allow file access while the screen is locked.
Next, I check the USB notification on the phone and make sure the correct USB mode is selected.
I also try another USB cable because some cables are designed mainly for charging and may not support data transfer.
If that does not work, I try another USB port on the computer. Restarting both devices can also solve temporary connection problems.
For an iPhone, I also check whether I have accepted the Trust This Computer prompt.
How I Choose the Best Transfer Method
For me, the best method depends on what I am trying to do.
If I want to transfer hundreds of photos quickly, I prefer using a USB cable. It is reliable and does not depend on internet speed.
If I want convenience and do not mind using cloud storage, I prefer Google Photos or iCloud.
If I only need to send a few recent photos, a wireless method can be easier.
Bluetooth is something I keep as a backup option because it is simple but usually slower.
The important thing is to choose a method that fits the number of photos and the devices I am using.
Final Thoughts
Transferring photos from a phone to a computer is something I think every smartphone user should know how to do. Photos are often some of the most valuable files stored on our phones, so keeping an additional copy can protect them from accidental deletion, phone damage, or storage problems.
For everyday transfers, I personally find a USB cable to be one of the easiest and most dependable options. Cloud services are also excellent when I want automatic backups and wireless access.
Whatever method I choose, I always recommend checking the photos after transferring them. I also avoid deleting the original files until I am completely sure that the copies on my computer are safe.
With a little organization and regular backup, managing photos becomes much easier. Instead of worrying about a full phone gallery, I can keep my memories organized on my computer and have more free space on my phone for new photos and videos.